

Make Your Own Hummingbird Kit Automated Pet Toy
Posted by Bird Brain Technologies & Jennifer Jensen on 30th May 2024
Hummingbird Robotics Kit - BirdBrain Technologies - Robotics Systems - (geyerinstructional.com)
APRIL 4, 2024
This blog post was written by educator Jennifer Jensen, a student in the 2023 Cultural Connections with Hummingbird course offered through the Infosys Foundation USA. The course challenges educators to create a personally meaningful robot that represents their interests and identities, and to consider how they can share that experience with their students. Jennifer’s final project was so much fun, we asked her to share it in a guest blog post. Thank you for sharing, Jennifer!
I wanted to create something that would allow my cats to get some playtime, especially during those times when I’m busy. Since I have two cats, I needed two toys.
The Hummingbird Kit components that I chose to incorporate into my build were: motion sensor, position servo, and the rotation servo.
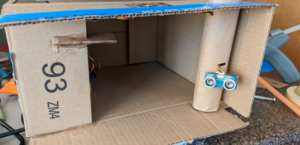
MOTION SENSOR
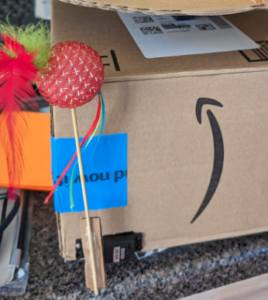
I set the motion sensor at a fairly short activation distance and positioned it so the wires were housed within a paper towel tube close to the entrance of the box. I knew having it here would be the best option since my cats love boxes.
ROTATION SERVO
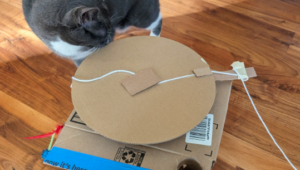
I first cut a hole in the top of the box for the wire to feed down to the controller. I then hot-glued the servo to the box and placed a cardboard circle on the servo. Finally, a piece of yarn was glued and secured under a small piece of cardboard on the top of the circle. As I began testing this portion of the toy, a rotating feather attached to the end of the yarn, I quickly realized that the design was going to have to be rethought. The yarn kept getting wrapped up around the base of the circle and rotation motor. I initially tried adding an “arm” out and away from the rotating circle, but that didn’t solve the problem.
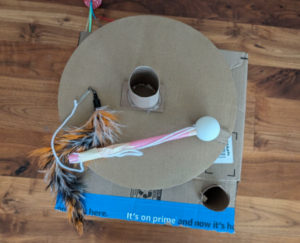
I remembered seeing different types of electronic cat toys online, so I did a little research as to how they were constructed. I ended up building a “ball and socket.” I cut a hole in a ping pong ball just large enough for a large milkshake straw. The straw and ball were set inside a short piece of paper towel tube that I hot glued to the top of the circle. This first photo is looking down into the ball and socket. The second is after pulling it out of the cardboard tube.
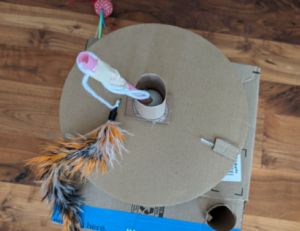
This design worked much better. With this new structure, I had to do some testing on the length of my yarn and discovered that it needed to be much shorter than originally planned.
POSITION SERVO
This toy was much easier to create and didn’t require much iteration. I hot glued a small piece of cardboard to the servo. Using a small, wooden skewer, I glued it to the piece of cardboard and then poked the sharp end into the cat toy. Upon activation, this toy simply moved up and down.
SNAP! CODE
Here is the code that I wrote:
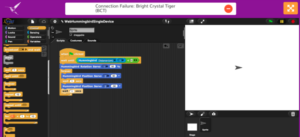
As I wrote and tested the code, I didn’t include the motion sensor block. This allowed me to ensure that both servos were working properly. I was then able to set the distance for the motion sensor. I originally had a “Forever” block but decided to change it to “Repeat 10.” I felt this would provide a more authentic experience for the cats.
 Recently Viewed